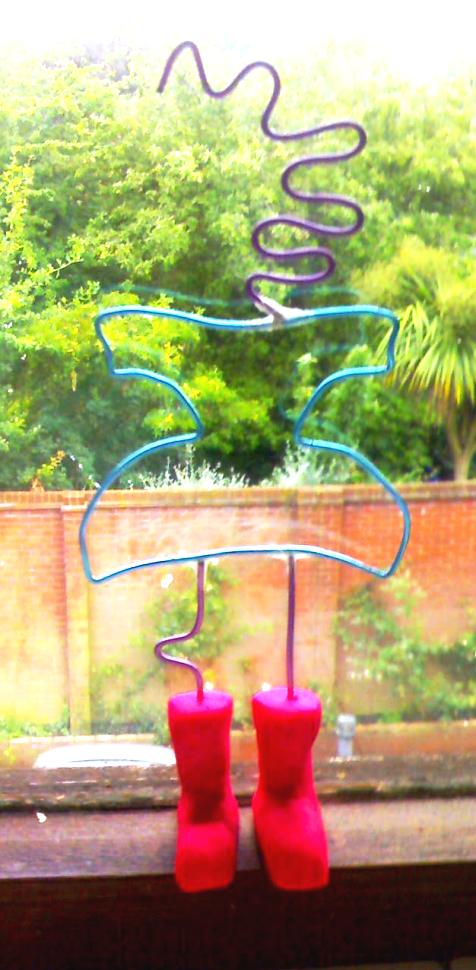
Step 1: Prepare the items needed to make a Lucy Coat Stand
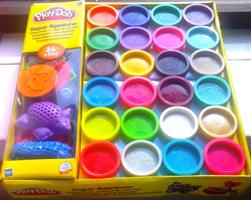
- Play-doh
- Craft Wire
- Pliers
- Clear Sticky-tape
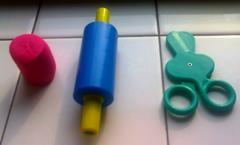
- Putty moulding tools
- Scissors
- String
|
 |
Step 2: Print the outline of Lucy
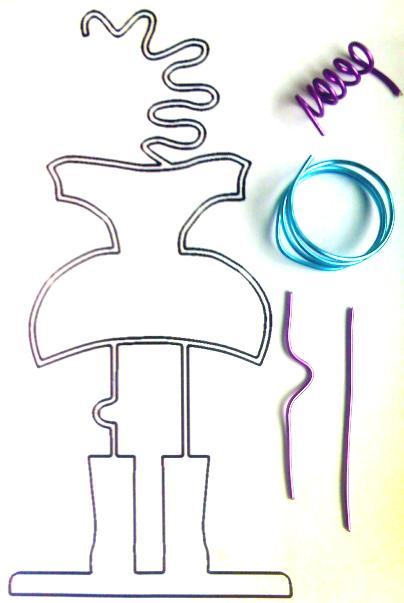
Download and print-out the outline of Lucy. Use this as a stencil to create the wireframe outline of Lucy. Bend the decorative metal wire around lines using your hands or a pair of players (depending on the softness of the wire). Note: The sturdier the wire the less the model will bend and sway once built.
Step 3: Cut and roll the play-doh
Cut the play-doh into a small manageable size (approximately half a tub per boot). Roll the doh on a tiled or smooth surface to prevent it sticking.
Step 4: Make the Wellington Boots
Cut the rolled play-doh in half. Join the two pieces as shown in the above video. Use some reference images of Wellington Boots to make your own designer Wellington Boots.
Step 5: Cut and Bend the wire around the stencil
The lengths of the wires are as follows:
- Hair: 29cm or 11.5 inches
- Body: 43cm or 17 inches
- Leg with knee: 13cm or 5 inches
- Straight Leg: 10cm or 4 inches
- Total: 95cm or 37.5 inches
Before cutting the wire, measure the length of hair, body and legs using a piece of string. It is much easier to bend string than wire. Twist the string around the printout (printed in step 2 above). Use the string to measure the length of the wire. Cut the wire for the hair, body, and legs using the string. After the wire has been cut to the required length, bend it around the stencil as shown in the photo below. Start at the point where the hair meets the body.
Step 6: Join the wires
Cut out small squares of stick-tape and use these to join the wires together. Using sticky-tape is a lot safer than welding! Use two or three layers to ensure the joints are secure.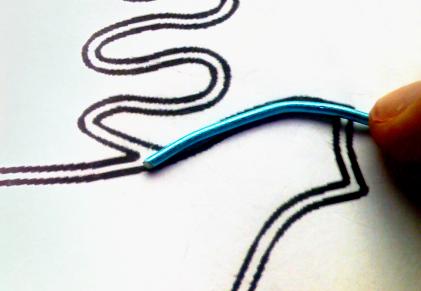
Step 7: Place the coat stand in the Wellington Boots
Assemble the coat stand and Wellington Boots by gently placing the coat stand into the play-doh. The coat stand should stand on its own.